No Bake Protein Balls
Looking for a quick, nutritious snack that requires minimal effort to make? Try these no-bake protein balls. These handy treats are packed with protein and can be customized to suit your taste preferences. Whether you need a post-workout boost or a mid-afternoon pick-me-up, these protein-packed snacks are the perfect solution. Let's dive into how to whip up a batch in no time.
Why You’ll Love These No Bake Protein Balls:
Quick and Easy: They're incredibly simple to make and require no baking, which means you can have a nutritious snack ready in minutes.
Customizable: You can tailor the ingredients to suit your taste preferences and dietary needs, whether you prefer chocolatey, nutty, fruity, or savory flavors.
Nutritious: Packed with protein, healthy fats, and complex carbohydrates, these snacks provide long-lasting energy and keep you feeling full and satisfied.
Convenient: Perfect for on-the-go snacking, pre/post-workout fuel, or satisfying those mid-afternoon cravings, these portable snacks are convenient to grab whenever hunger strikes.
Versatile: You can experiment with different ingredients, such as various nut butters, protein powders, seeds, and dried fruits, to create endless flavor combinations.
Healthy Indulgence: With the right ingredients, you can indulge your sweet tooth guilt-free, knowing you're nourishing your body with wholesome ingredients.
Ingredients Notes:
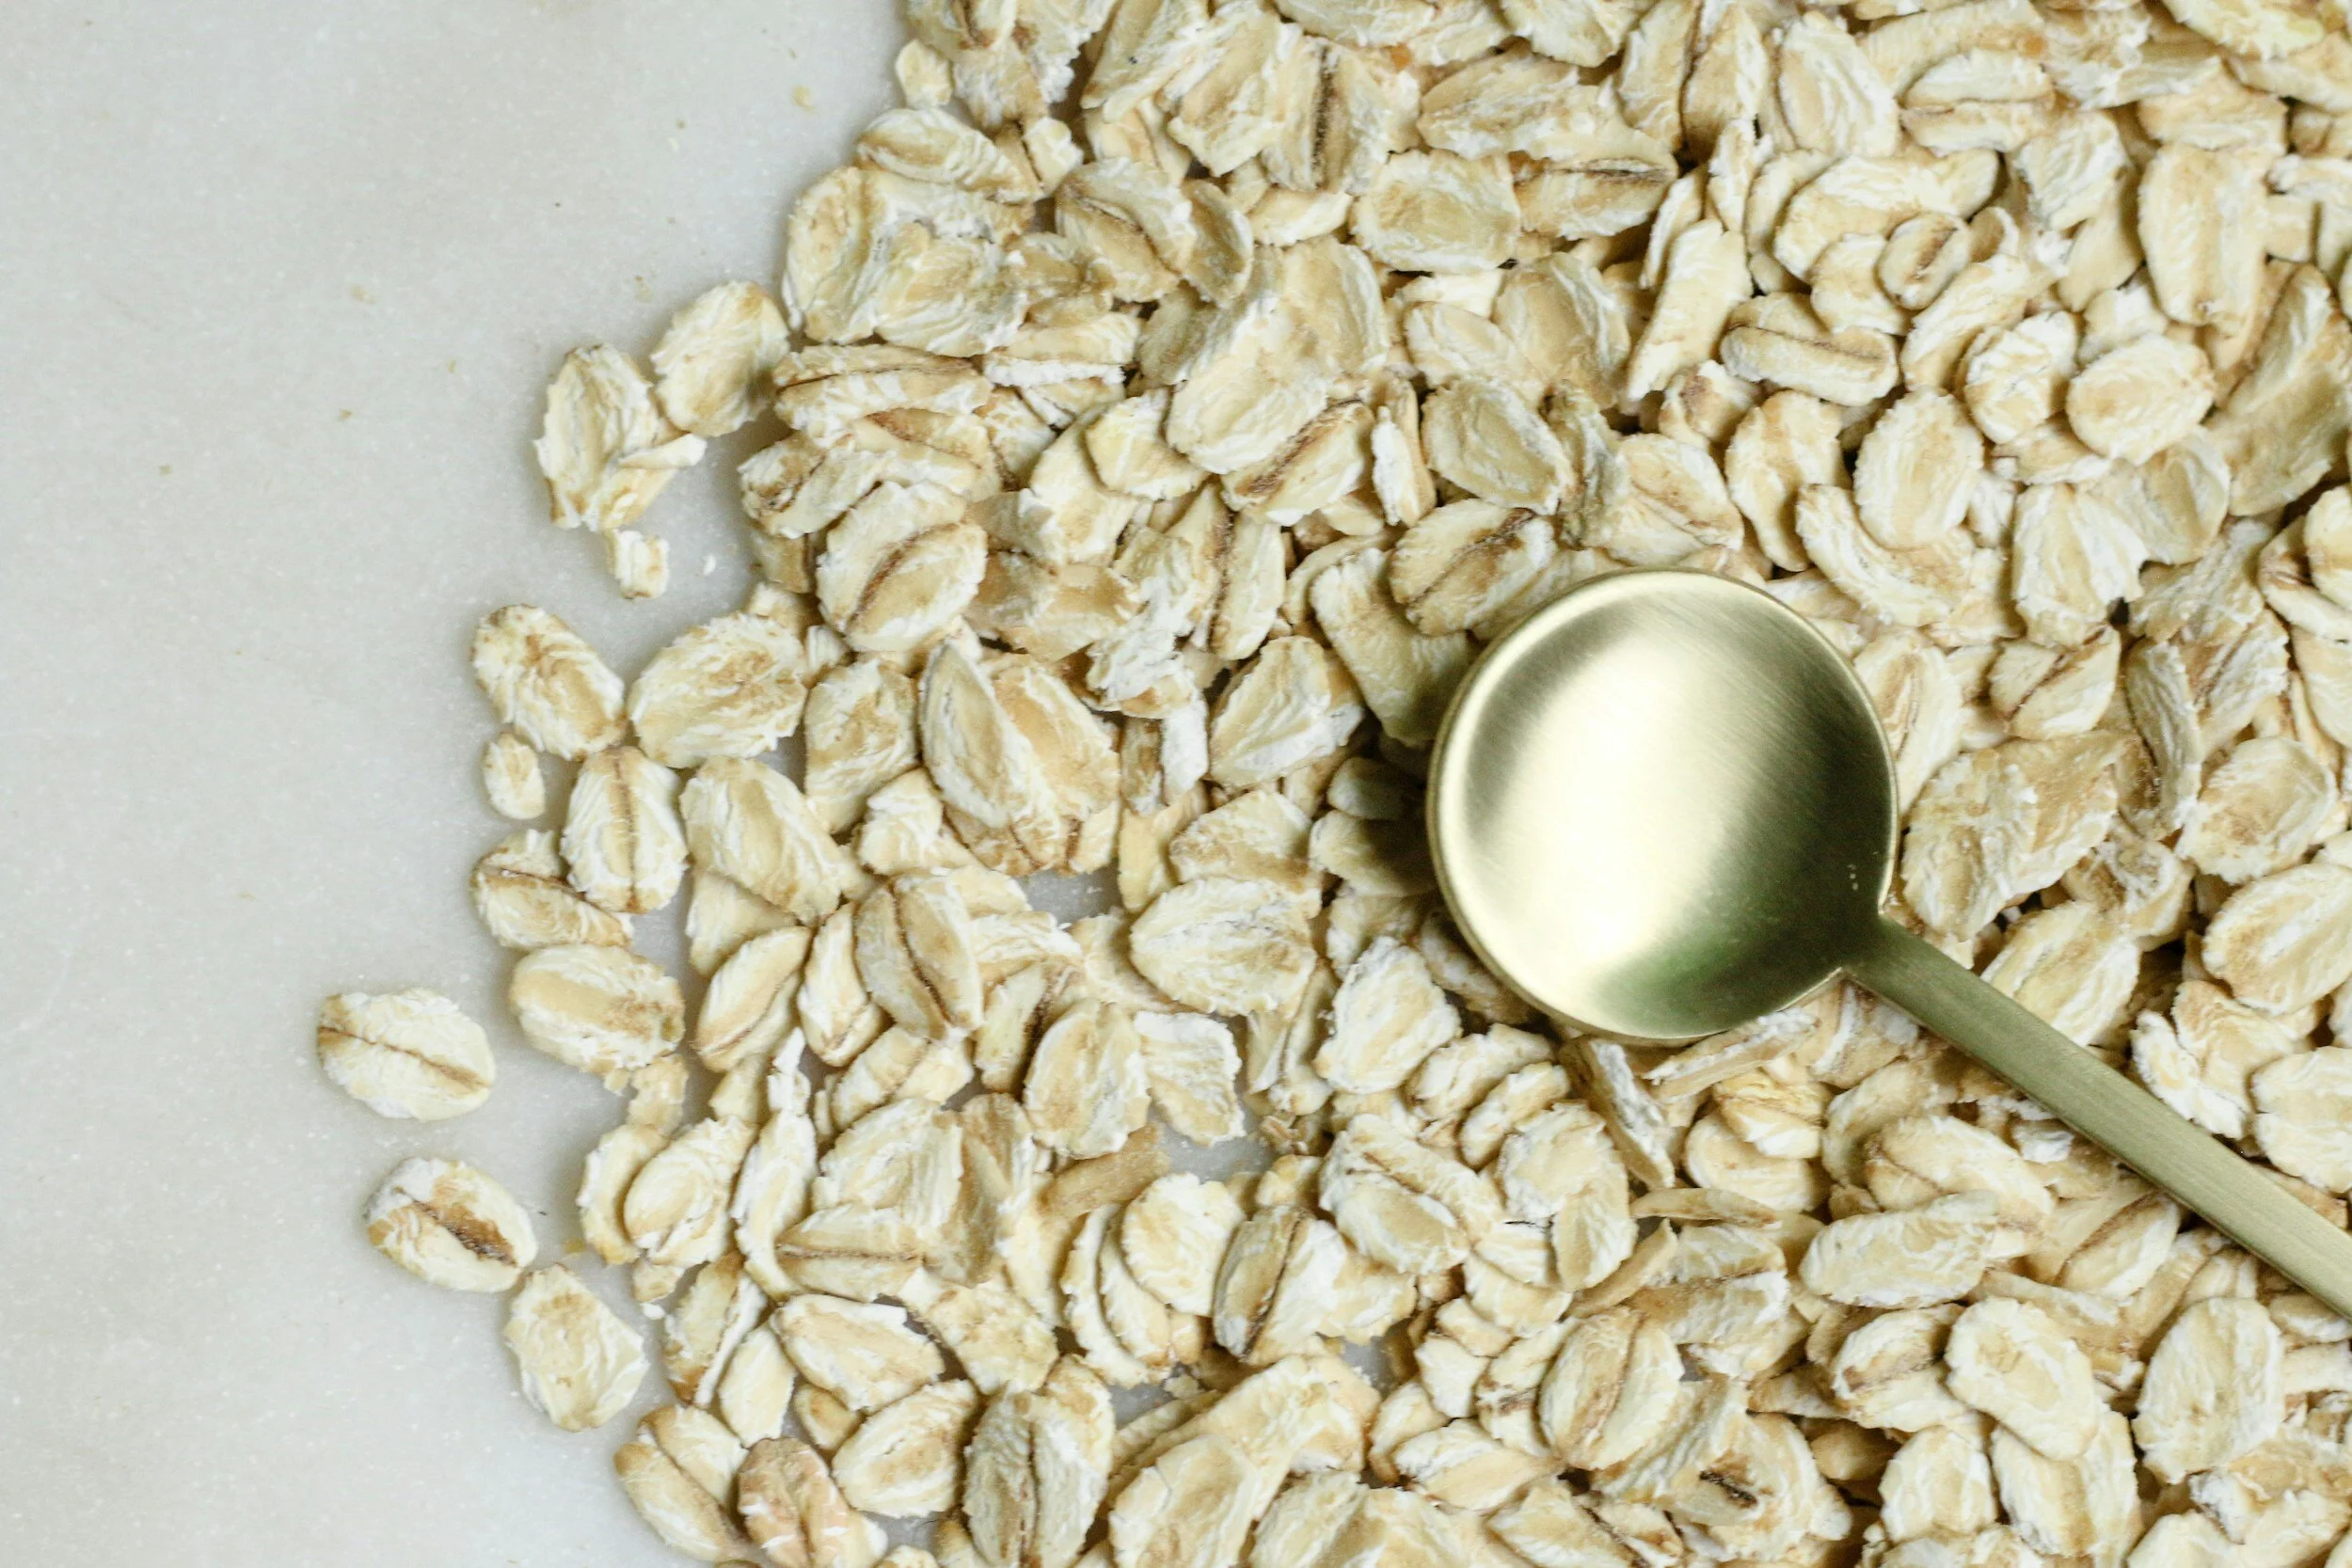
Rolled Oats: Opt for old-fashioned rolled oats rather than quick oats for better texture. If you're following a gluten-free diet, ensure the oats are certified gluten-free.
Nut/Seed Butter: Peanut butter is a popular choice, but in this recipe I used almond butter. You can also use cashew butter, sunflower seed butter, or any other nut or seed butter you prefer. Choose natural varieties without added sugars or oils for a healthier option.
Honey or Maple Syrup: These sweeteners bind the ingredients together and add sweetness. Adjust the amount according to your taste preferences. Vegans can use maple syrup or agave nectar instead of honey.
Protein Powder: Select your favorite protein powder flavor, such as vanilla, chocolate, or strawberry. Whey, soy, pea, or hemp protein powders are common choices. Ensure the protein powder complements the other flavors in the recipe.
Mix-Ins: Mini chocolate chips, chopped nuts, dried fruits, shredded coconut, chia seeds, or hemp hearts are popular mix-ins that add texture and flavor. Be mindful of the quantities to maintain the desired texture of the protein balls.
Vanilla Extract: Pure vanilla extract enhances the flavor of the protein balls, but it's optional. You can omit it if you prefer.
Salt: A pinch of salt helps balance the sweetness and enhances the overall flavor profile. Use sea salt or Himalayan salt for best results.
Optional Additions: Consider adding spices like cinnamon, nutmeg, or cardamom for extra flavor. You can also incorporate superfood powders like spirulina or maca powder for additional nutrients.
How to Make No Bake Protein Balls:
Combine dry ingredients: In a large bowl, mix together the rolled oats, protein powder, chocolate chips (if using), and a pinch of salt.
Add wet ingredients: Add in the nut butter of choice, honey or maple syrup, and vanilla extract (if using) to the dry ingredients. Stir until well combined. If the mixture seems too dry, you can add a little more nut butter or honey/maple syrup.
Form balls: Take small portions of the mixture and roll them into balls using your hands. The size of the balls is up to your preference, but aim for bite-sized portions.
Chill: Place the formed balls on a baking sheet lined with parchment paper and refrigerate them for at least 30 minutes to firm up.
Store: Once firm, transfer the protein balls to an airtight container. They can be stored in the refrigerator for up to a week, or you can freeze them for longer storage.
Expert Tips:
Consistency is Key: When mixing the ingredients, aim for a sticky consistency that holds together when rolled into balls. If the mixture is too dry, add more nut butter or honey/maple syrup. If it's too wet, add more oats or protein powder.
Chill Before Rolling: Place the mixture in the refrigerator for 15-30 minutes before rolling into balls. This makes the mixture easier to handle and prevents it from sticking to your hands.
Use a Cookie Scoop: For uniform-sized protein balls, consider using a small cookie scoop to portion out the mixture before rolling.
Storage: Store the protein balls in an airtight container in the refrigerator for up to a week. You can also freeze them for longer storage. Place parchment paper between layers to prevent sticking.
Experiment with Flavors: Don't be afraid to get creative with flavor combinations! Add spices like cinnamon or nutmeg, swap out the chocolate chips for dried cranberries or raisins, or incorporate flavored protein powders for different taste sensations.
Texture Matters: Pay attention to the texture of the mixture. If it's too crumbly, add more nut butter or honey/maple syrup. If it's too sticky, add more oats or protein powder.


